[ Three rusty pallet nails, each wrapped in copper wire just under the head. A loop of copper wire sticks up above the head, as well. In the background are more nails, and a curve of hammered copper wire. ]
I keep getting Ideas, is what.
It’s honestly kind of fun.
I’ve been meaning to start using old pallet nails in stuff for YEARS now, or at least since about three minutes after I started pulling pallets apart. But now I have enough brain to actually _do_ that, & it turned out to be WAY easier than it might have been.
NGL I had fun putting this together, between the nails, the BIG nail, the hunk of really thick aluminum wire, & that vertical metal bit in the middle, which I picked up from right in front of the front door, after walking past it for half a year & thinking it was probably leather.
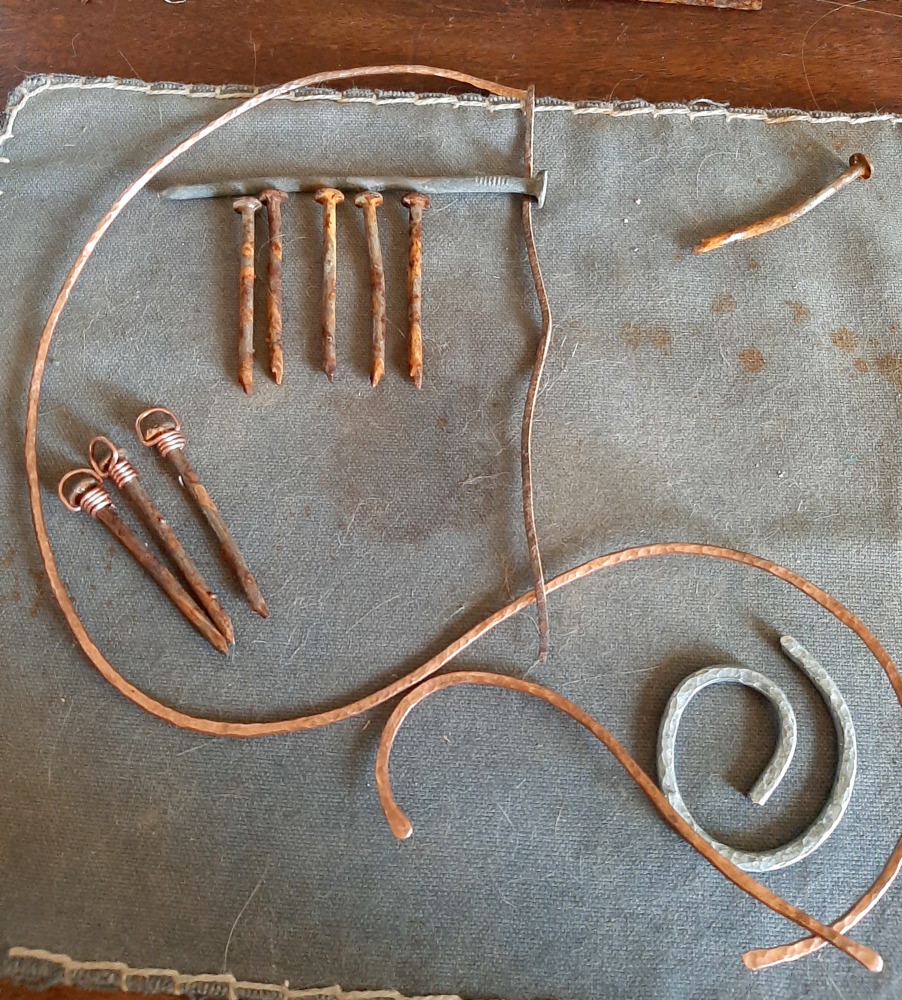
[ It’s a wider version of the first picture — a long length of copper makes a roughly horizontal S, with a shorter one in approximately a J. A small spiral of aluminum wire sits between the two copper pieces; a big nail stretches across the top of the piece, with smaller, rusty nails lined up below it; and a narrow, slightly wavy hunk of metal runs straight down the center. ]
The nails make a nice fringe sort of thing, & I couldn’t help but to pick some _very_ good blues to go with the rest.
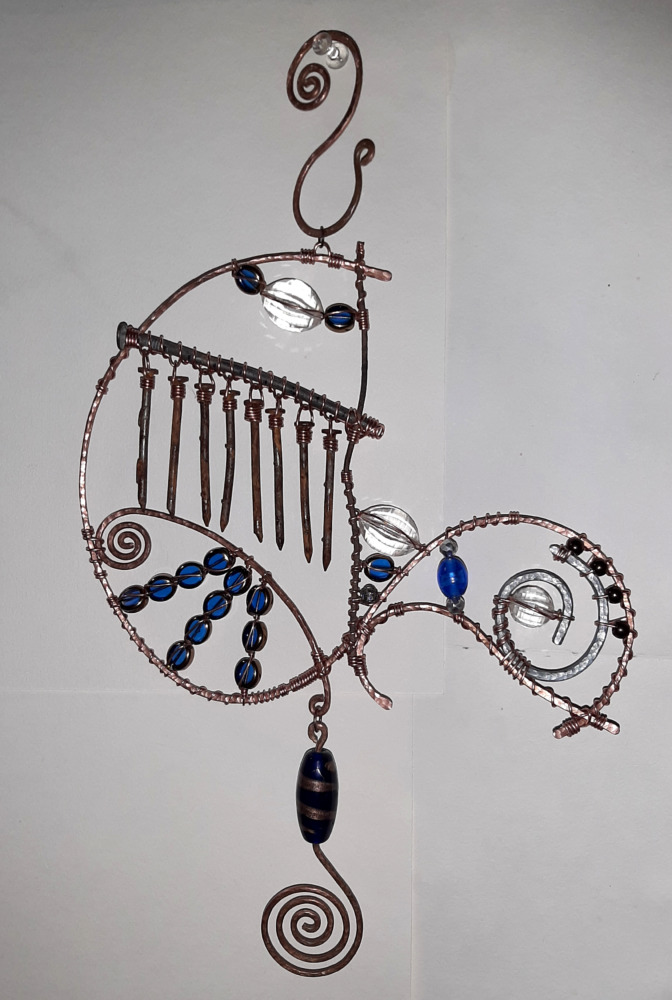
[ A third length of copper wire, with a spiral on one end and a loop on the other, has been added to the rest; another copper spiral, this with a long cobalt blue glass bead threaded into it, hangs from it. Eight rusty nails now hang from the longer nail, and a variety of cobalt blue glass beads, along with some large clear ones, have been added in strategic spots. ]
I just … started making curves, for this one.
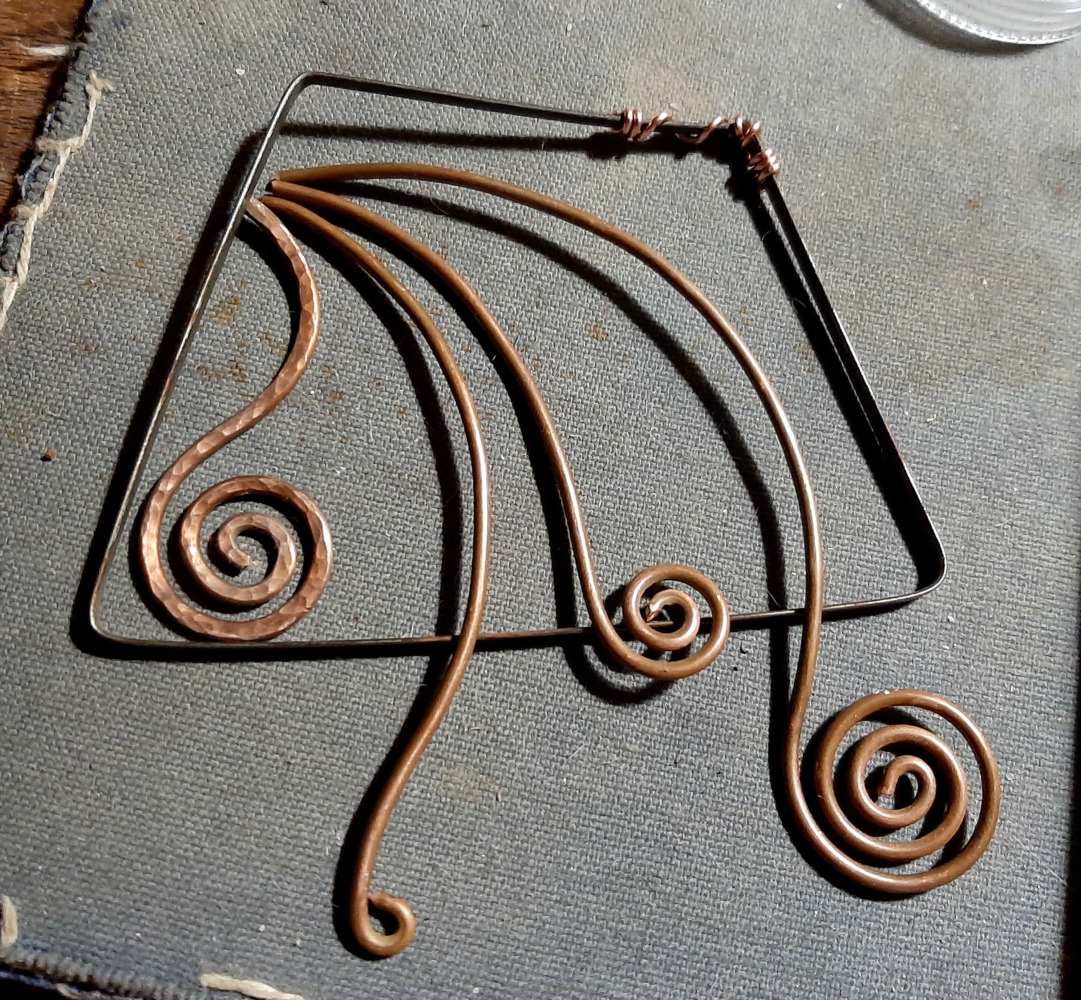
[ A n unevenly trapezoidal frame holds four lengths of copper wire — each starts at the upper left corner, and they radiate out from there to cover nearly the entire bottom edge of the trapezoid. Three end in spirals; the fourth ends in a simple loop. ]
Looking at that, you may wonder how I’d planned to connect the four end bits at the upper left. The answer is ‘buggered if I know, I’ll figure it out tomorrow’. It actually took me a week, but I got there, using the tried & true ‘keep wrapping wire around it til it gives up’ method.
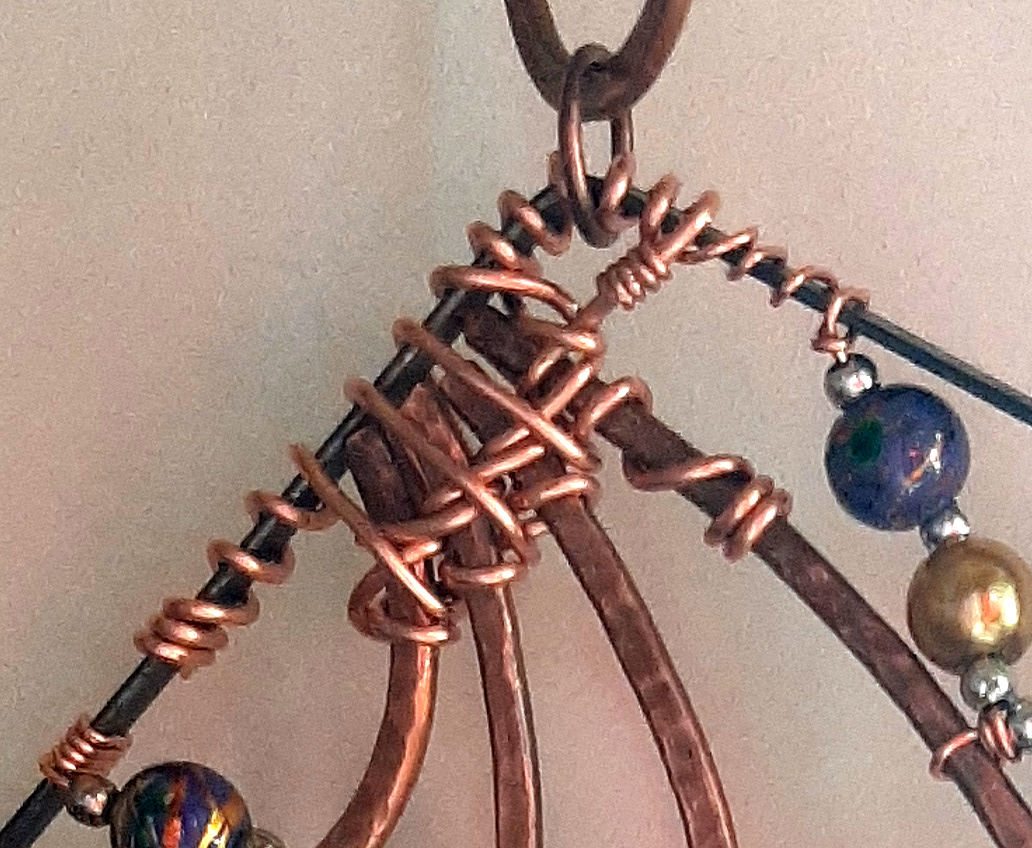
[ A blurry close view of that spot in the finished piece — a length of wire has been wrapped around the base of each copper piece in turn, then back around each in the opposite direction. The same wire then runs back down, between each pair of copper pieces, then around the frame. ]
I only had to go back & forth three times, I feel like that was a pretty good job.
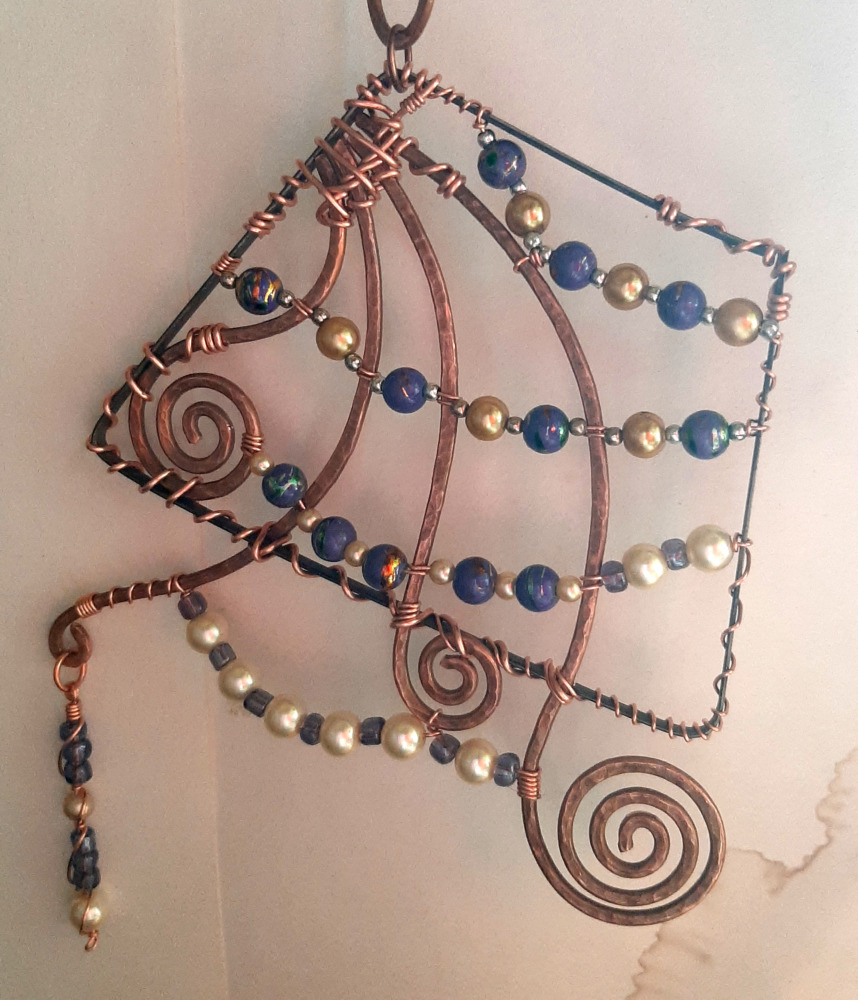
[ The finished piece — various purple and off-white beads have been draped across the frame and the copper. A dangly bit hangs from the one loop, off to the left. ]
Neither of these is in the shop yet; I’m hoping for next week.

