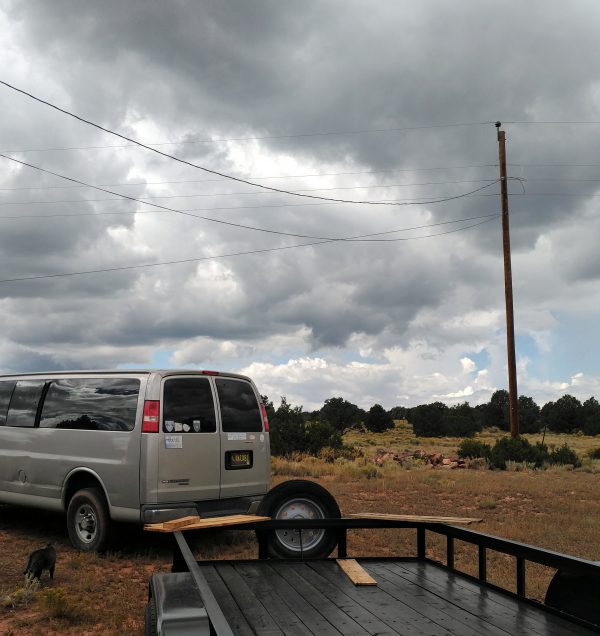
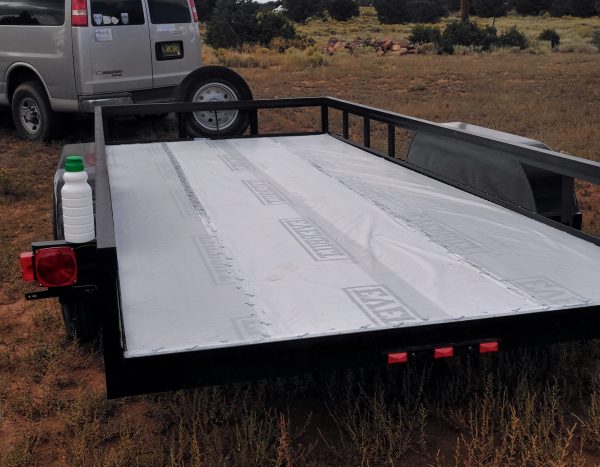
The sky was doing this when I got outside. Not very promising but I figured I’d get as far as I could before the skies opened.
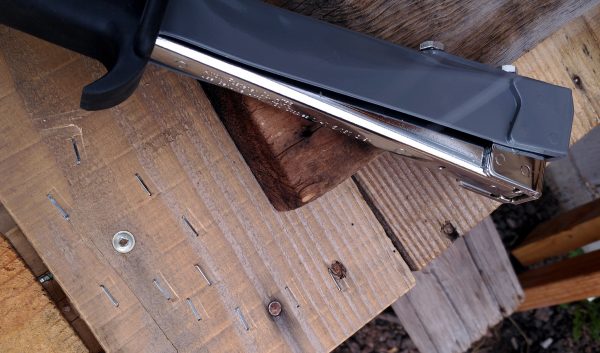
The first thing I did was unpackage & load up my brand new staple hammer, which is the Very Best Tool, I am NEVER using a plain staple gun again, this is SO MUCH FUN.
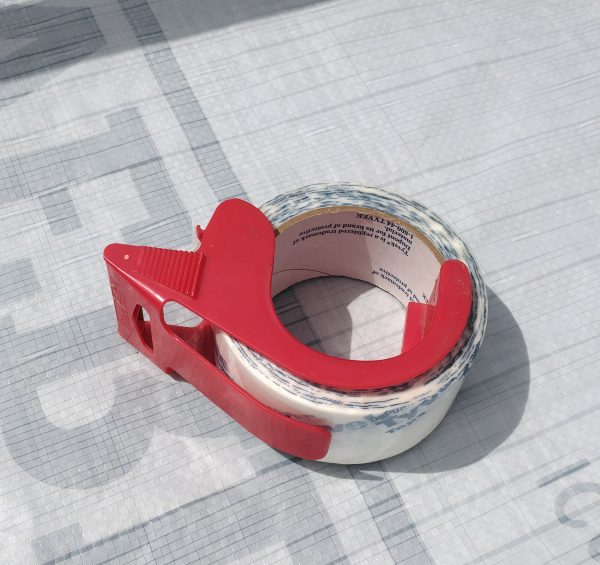
It really made it VERY easy to install the housewrap, especially after I stuck the tyvek tape into a tape dispenser, those being designed for the purpose of dispensing tape.
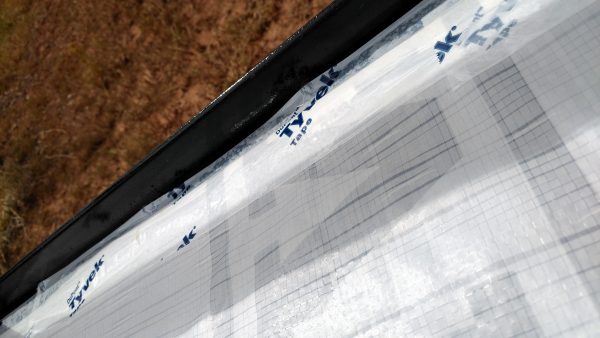
… my taping skills might leave something to be desired, but all of this is getting covered over & caulked anyway, IT’S FINE.
The first strip is down!
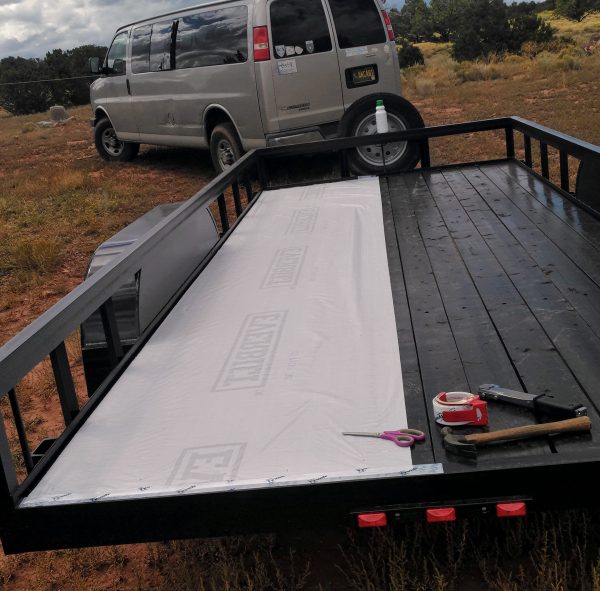
… seriously, this did not take long at ALL. It’s the only thing I had on the schedule for today, because I hadn’t done it before, but I finished it up really pretty quickly.
The staple hammer helped.
Loiosh did not.
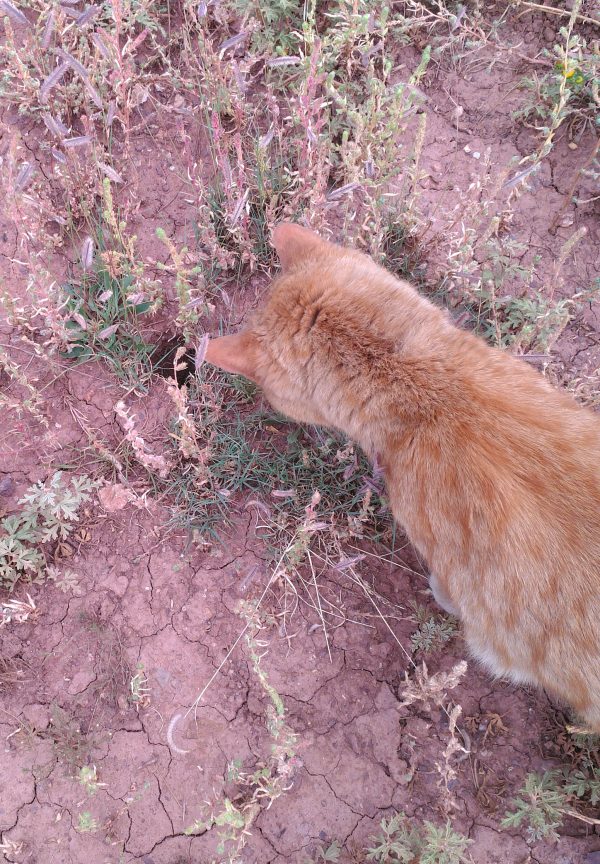
But he also didn’t catch any rodentia, so it’s all good.
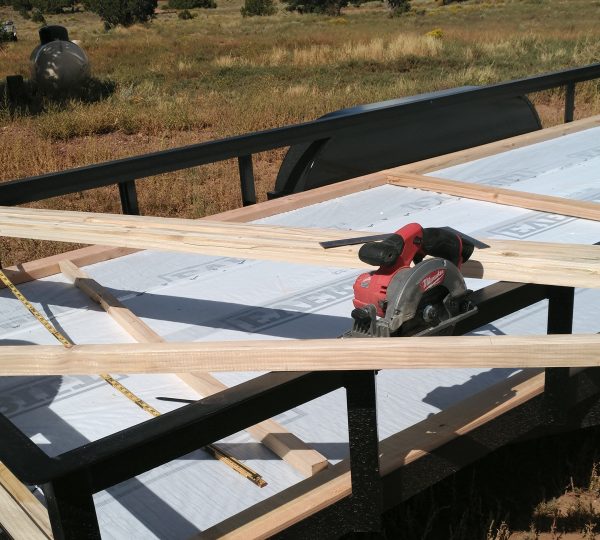
I figured I’d just keep going & start framing out the floor.

I spent HOURS building this perfectly cromulent workbench, & here I am using the trailer …
… well, that’s how that goes, I guess.
Got all the framing measured & cut & laid out!
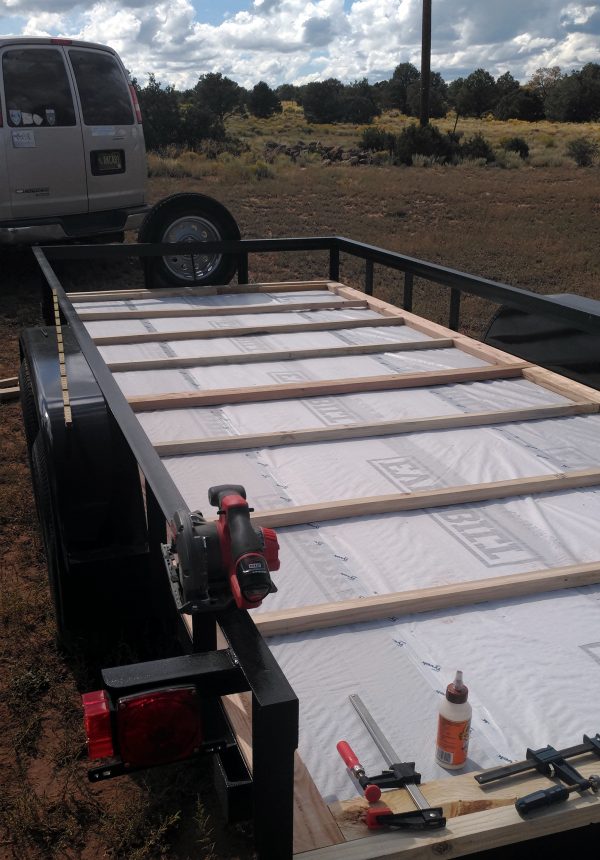
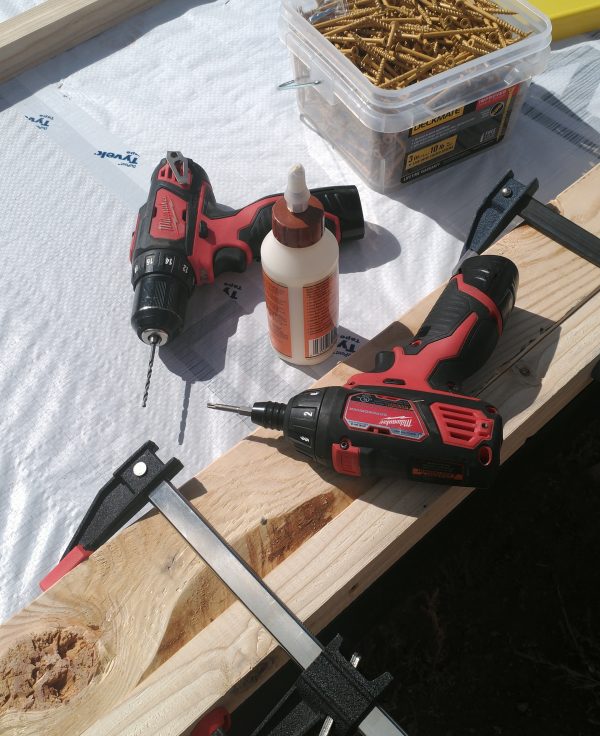
You clamp & glue …
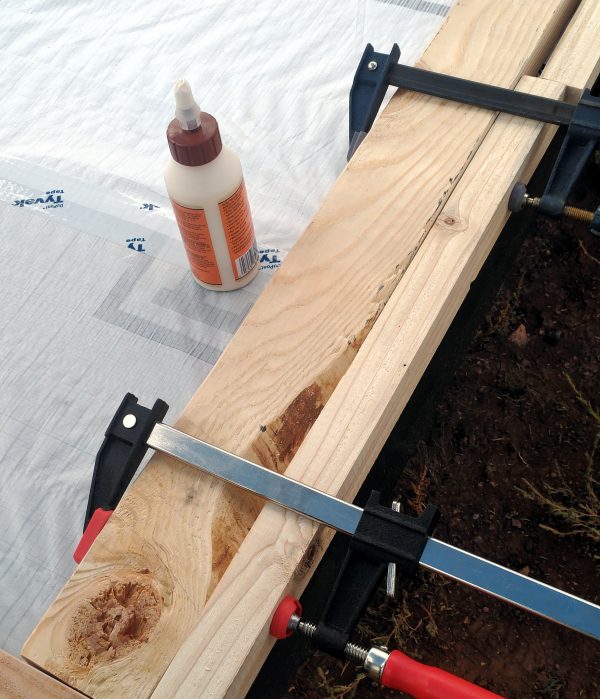
… & THEN you screw.
Probably there’s about six entendres of various magnitudes in there but I am tired.
Of course nothing ever goes quite as planned. My original intention was to use a 2×4, laid flat, across the front of the trailer, but the edge of the metal frame along there is JUST enough higher than the wood of the trailer bed that it made more sense to run two rows of 2×2 instead. You can see the difference in height here.
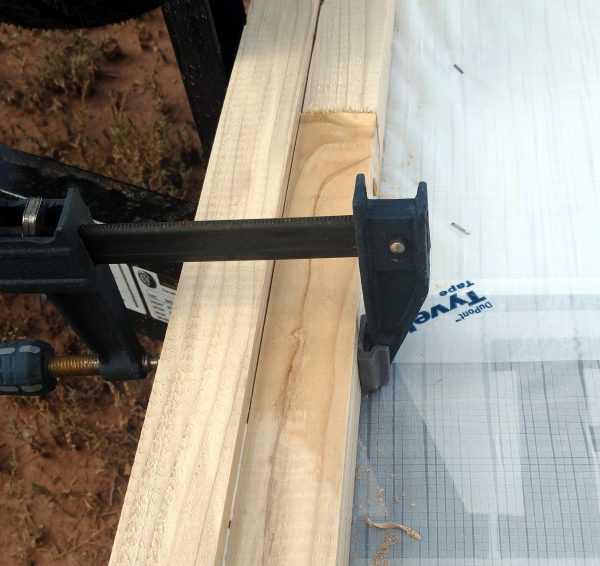
That left one extra 2×4, which I used as the middle span for the framing, just to make things a bit more sturdy. & since the trailer is JUST a bit longer than anticipated, the 2×4 at the end now has a 2×2 glued & screwed alongside it, so that everything fits right.
Right as I was finishing up, I was visited by a hummingbird — I hadn’t even SEEN one around here before — who left a souvenir.
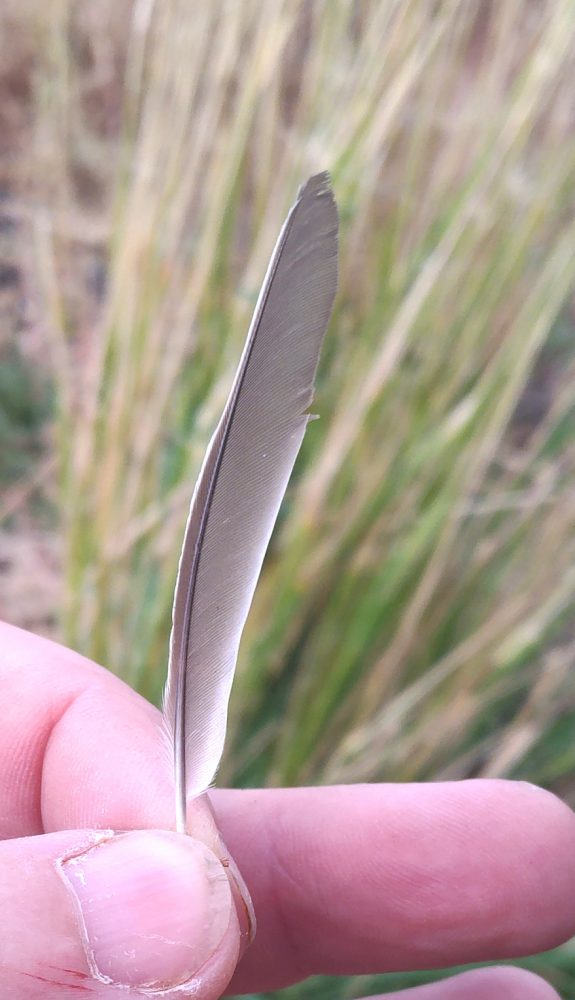
I let the wind carry it off after I got a good picture, no fear.
By then I was getting achy & tired, so that leaves the rest of the framing for tomorrow. I’ll be fixing the perimeter pieces to each other all round tomorrow, & then caulking between those & the metal, & the glueing the rest of the framing pieces in place.
After that, cutting & installing insulation!
This was posted originally to my Patreon, a little over a week ago.
If you want to see these posts sooner, & not incidentally help support me & my cats in our travels & such, the way to do that is to sign up as one of my Patrons for as little as a buck a month.
I’d REALLY like that.