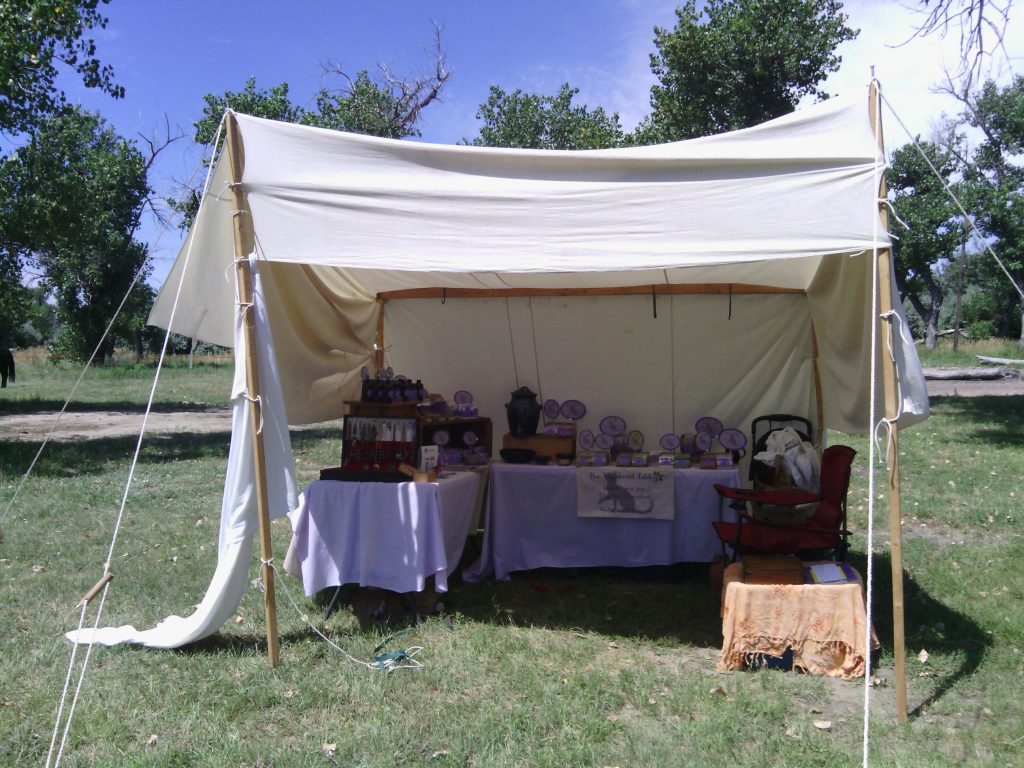
Specifically, the ‘putting spikes into each pole to loop ropes over’ part. Since I’d bragged on Twitter that I’d worked out a process, here it is!
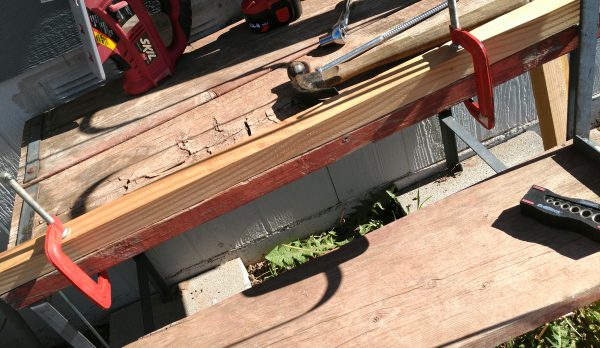
Above, my work area. Yes, that’s the back steps. I’ll be building a worktable AFTER Battlemoor.
Step the first, as pictured above: clamp the piece to the work area.
Step the next, mark where you’re going to drill. In this case, I used one of the long bolts I’ll be using for the spikes. Also, a hammer.
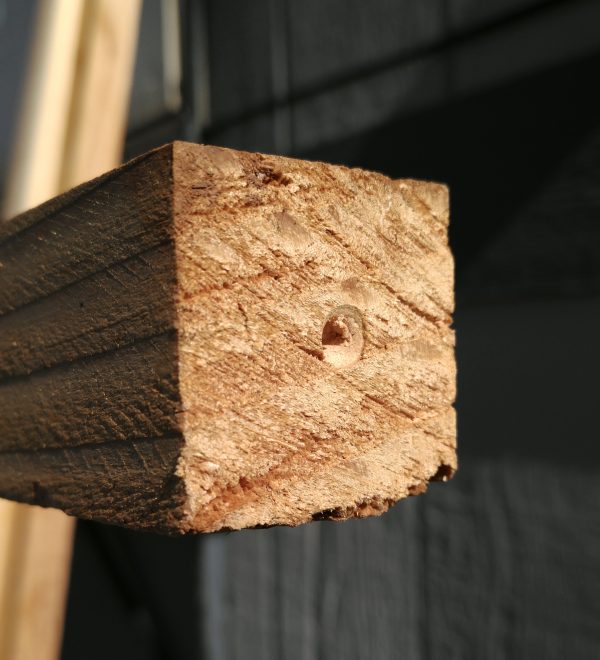
Next, drill the pilot hole. I bought a REALLY long drill bit, just big enough for the threaded part of the bolts, & marked how far in it had to go with a piece of electrical tape.
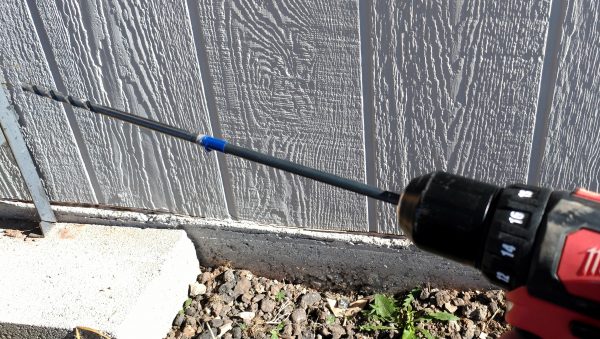
(Note to those drilling a long hole in a piece of wood: Pull the bit out every once in a while as you go. Otherwise all the drilled wood pieces will jam up the bit & it’ll get stuck. Ask me how I know.)
The tricky part: Drilling the hole straight into the end of the pole. I had to buy a Thing. It is a Very Useful Thing. Below, I’m using it to make sure the second, wider drill bit is going in straight.
(Yes, yes, bring on the sex jokes, they’re RIGHT THERE.)
I’d like to add a note here that this sort of thing is SO MUCH EASIER with two drills. I didn’t have to keep switching out the bits. Thank you, Rowan!
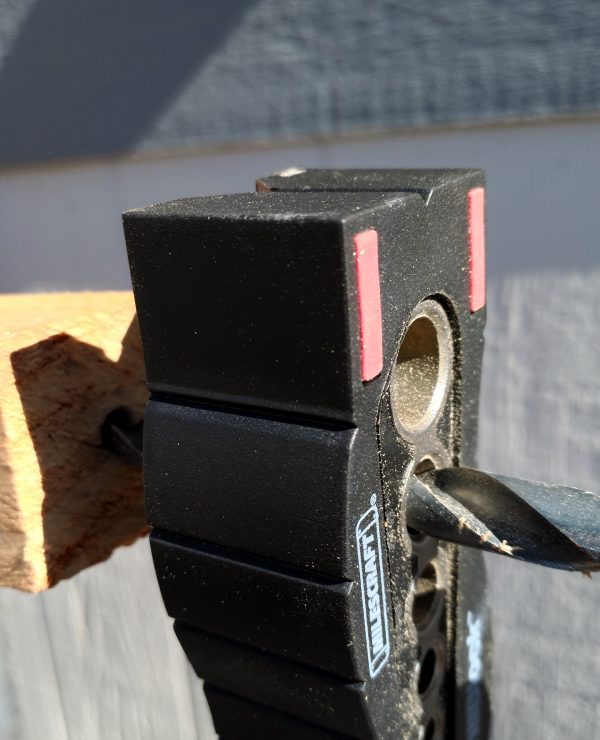
The second drill bit is the width of the shank, or non-threaded part, of the bolt, but not nearly as long as the other bits.
Now that you have a hole, you gotta put something in it.
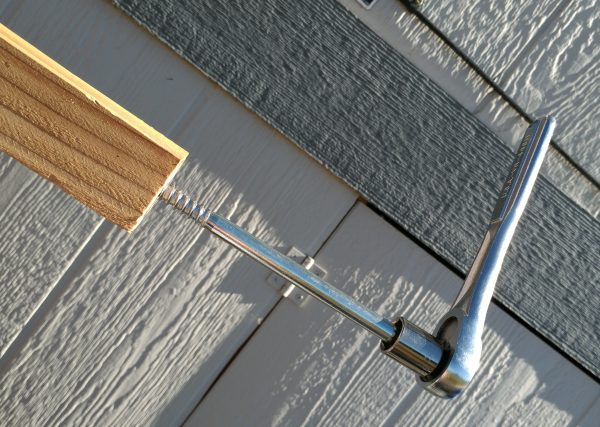
& then use the socket wrench to make sure it goes in.
The bolt goes in til none of the threads are showing. But there’s still the head of the bolt, so I cut that off with the jigsaw.
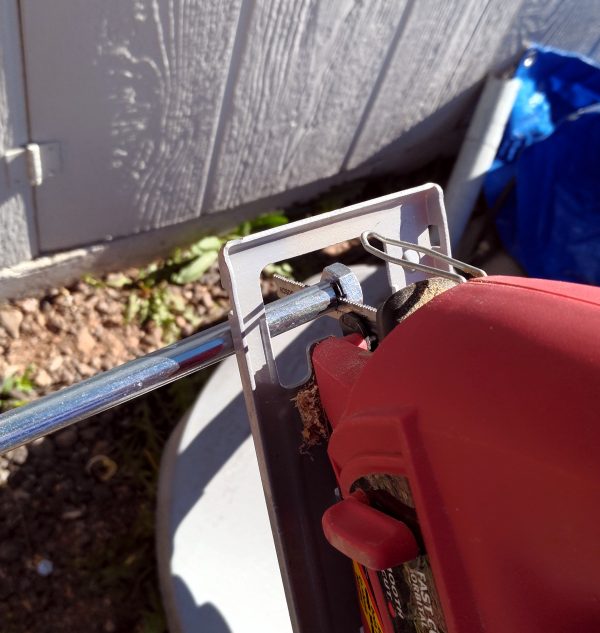
This is BY FAR the most annoying part of the process. I tried using my new reciprocating saw, but it really wasn’t an improvement. Also, that’s when the horses snuck up on me.
ANYWAY after a lot of cutting (& cussing) the head comes off, & POOF it’s a pavilion pole.
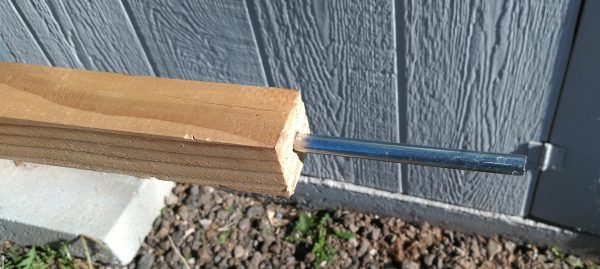
& then I do the whole process seven more times in a row, & then I nap.
